Creating P12's, Profiles and APN keys for Pugpig Apps
To build and distribute your Pugpig app, we require your development and distribution certificates (packaged in a P12 file) - as well as Development, Ad-Hoc and App Store provisioning profiles.
App IDs
To submit an app to the app store you need to register an App ID with Apple - this is done via the Apple developer portal. Once logged in navigate to certificates, identifiers and profiles. Then navigate to the App IDs section, this is where you will register your bundle ID.
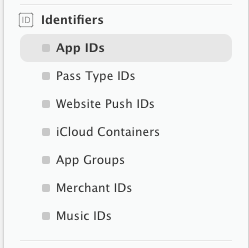
Click on the plus in the top right hand corner of the screen:

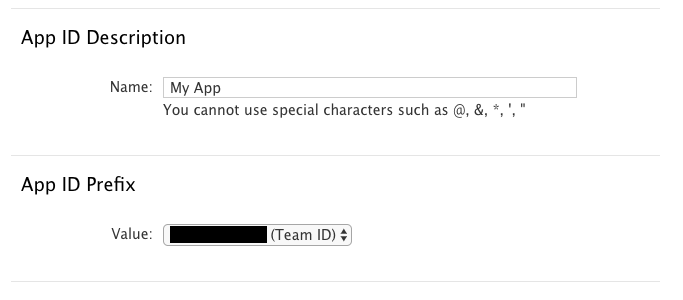
Enter your app name in the App ID Description and select your Team ID:
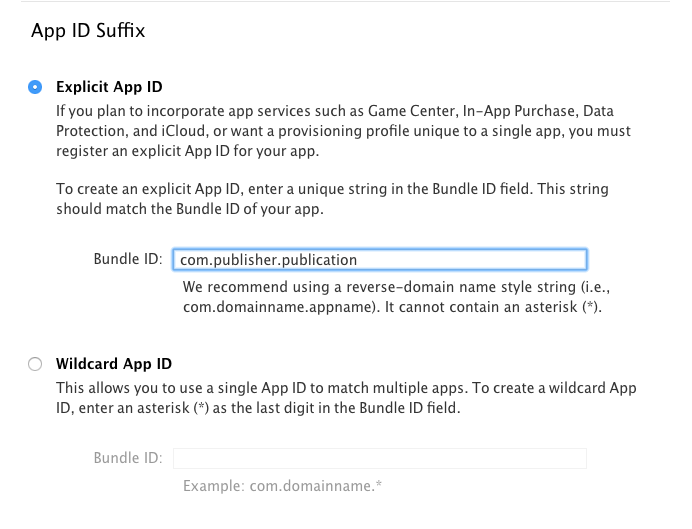
Then enter in your chosen app Bundle ID in the Explicit Bundle ID section, this needs to be exactly right so contact your onboarder if you are not sure.
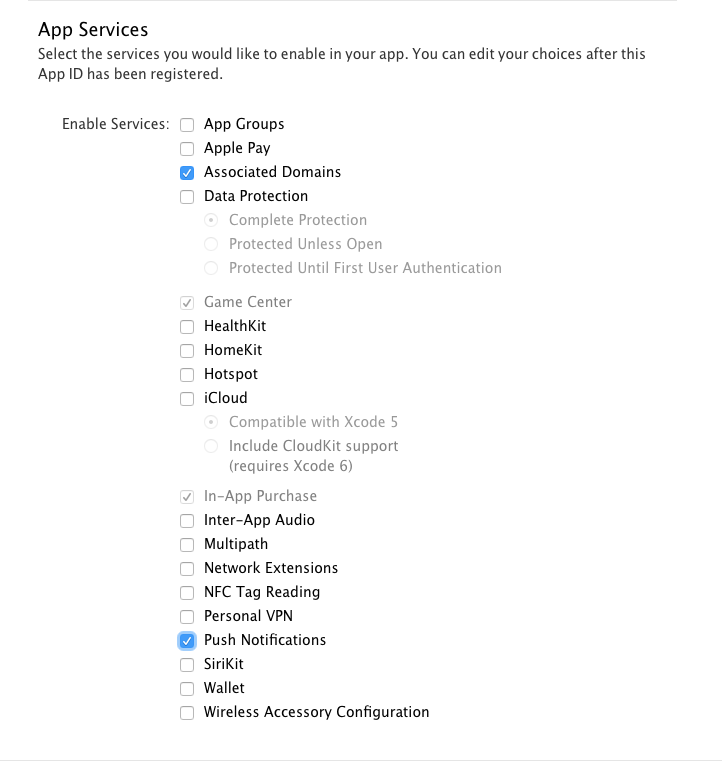
Finally in the App Services section ensure you have ticked Associated Domains & Push Notifications if you would like to enable Deep-Linking and Push Messages in your app.
If your app is using Urban Airship, we also require .NSE provisioning profiles to be created (this is so we can utilise the rich push capabilities on Urban Airship)
To do this you will need to complete all of the above steps again, with but you will need to append your app's Bundle ID with .NSE (Important: this will need to be capitalised as it is case-sensitive)
Today App ID
If you're creating profiles for a bolt app, we also require .today provisioning profiles to be created for its additional Apple Today widget.
To do this you will need to complete all of the above steps again, with but you will need to append your app's Bundle ID with .today
Provisioning Profiles
In order to tell Apple what services your app is built with, it needs to have a provisioning profile. In the Provisioning Profiles section of the Developer Console, click on the tick in the top right-hand corner of the page to create a new profile.
To build and test your app we will need a iOS Development, App-Store and Ad-Hoc provisioning profile, so you will need to do this same step for each type.
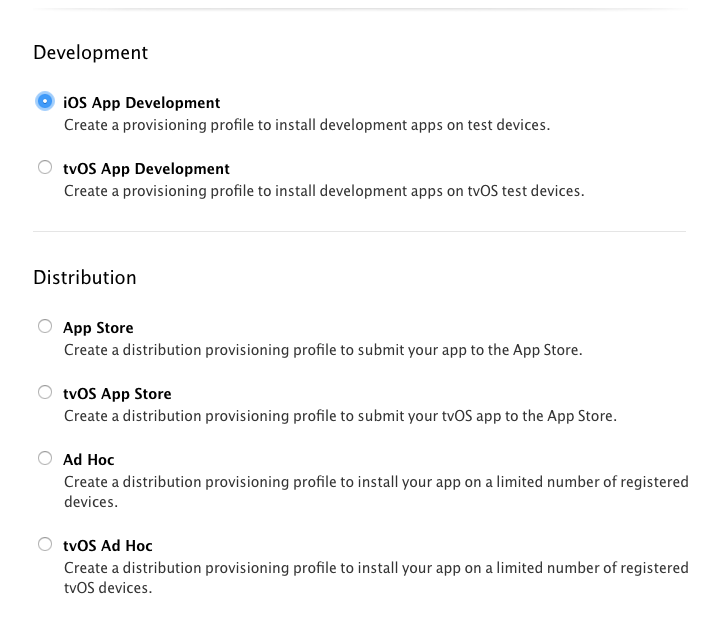
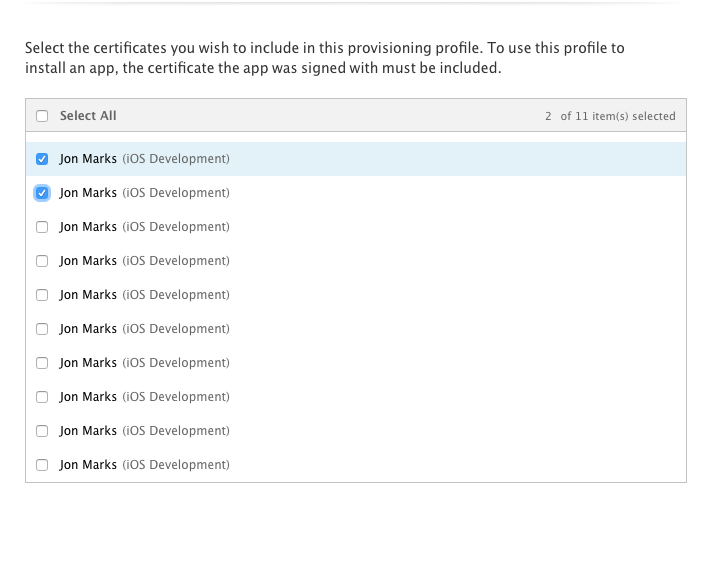
Then on the next page, select your that app that you just created in the App Ids section. Then select the relevant development/distribution certificate that will be provided to Kaldor.
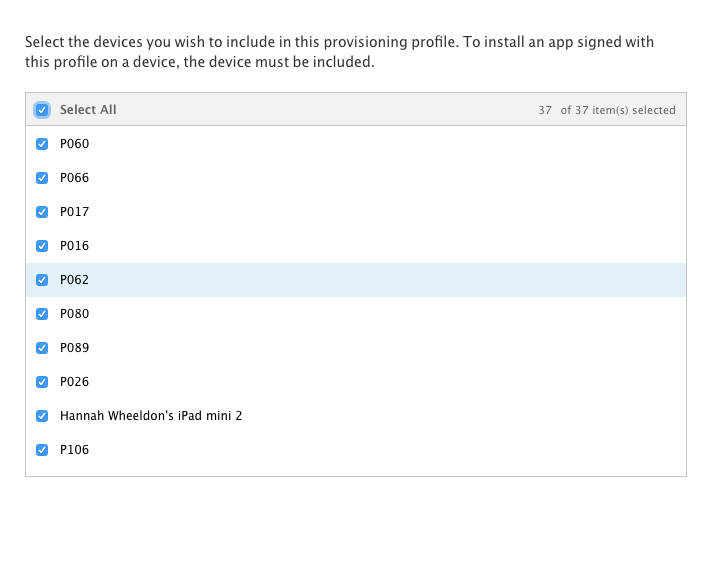
Then select all of the relevant Device UDID's for this project (your onboarder will supply you with a list of our device UDID's that we will need added.)
Then finally give this profile a relevant name, download the resulting mobile provisioning file and provide this to your onboarder.
Remember you need to do this for iOS Development, App-Store and Ad-Hoc
If you are using Urban Airship in your app, you need to repeat the above steps for your .NSE Bundle ID - this also needs to be done for all three build types Development, App-Store and Ad-Hoc and the resulting mobile provisioning files need to be given to Kaldor.
Today Profiles
If you are creating profiles for a Bolt app, you need to repeat the above steps for your .today Bundle ID - this also needs to be done for all three build types Development, App-Store and Ad-Hoc and the resulting mobile provisioning files need to be given to Kaldor.
Push Certificates
If you have enabled Push for your app, you will need to create Push certificates - you'll note that in the App IDs section of your Developer account, under the settings for your App ID the Push Messaging is warning you that this needs to be configured:

To configure this edit the App ID for you app, and scroll down to the Push Messaging section. Then under Development SSL certificate, click Create Certificate...
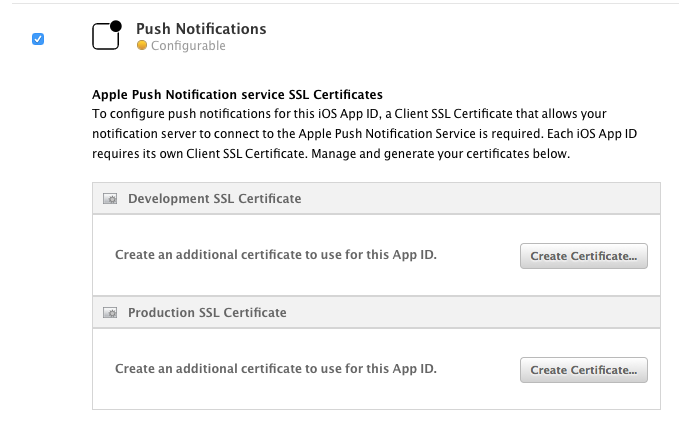
Upload your CSR file to the portal, click continue and then download the resulting certificate - place this in your Keychain Access with the Key you made it with.
You will then need to do the same for Production SSL Certificate.
Exporting P12's
To access your certificates and keys we will need a P12 file, we require a Development P12, Distribution P12 and if you have push messaging a Development Push P12 and Distribution Push P12.
Once you have downloaded a Certificate and added it into your Keychain Access, this will combine itself with the key you generated it with. To export this key and certificate as a P12 you can right click on the certificate/key and select export:
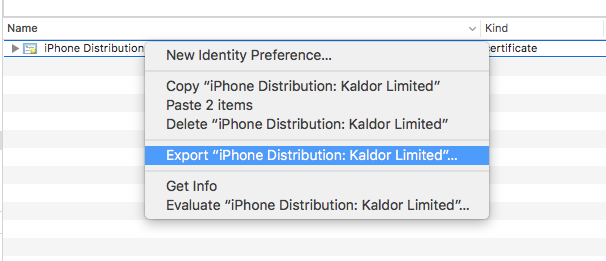
Export it to a useful place on your computer. Then add a secure password to this and note it down as you will need to provide this to your onboarder at Kaldor.
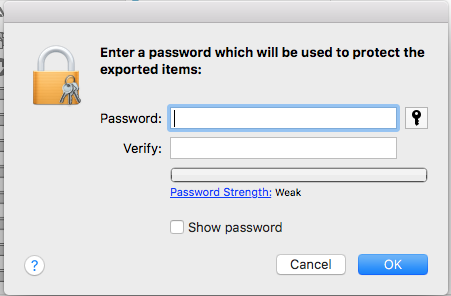
Once this is done email the resulting P12 file and password to your onboarder. Please ensure you do the same thing for all certificates generated for this app.
Apple Push Notification service (APNs)
With Firebase, you can also use APN keys to authenticate iOS push services in lieu of conventional push p12 certificates. The benefit of APN keys are that they never have to be renewed and they can be used across multiple publications.
Unfortunately, Urban Airship does not yet support the use of APN keys, so if your app uses Urban Airship, you'll need to continue to use and renew Apple push certificates.
To configure an APN key, go to the Apple Developer portal and select to create a new key. Specify the key as Apple Push Notification service (APNs), confirm, then download the .p8 file and save the key ID.
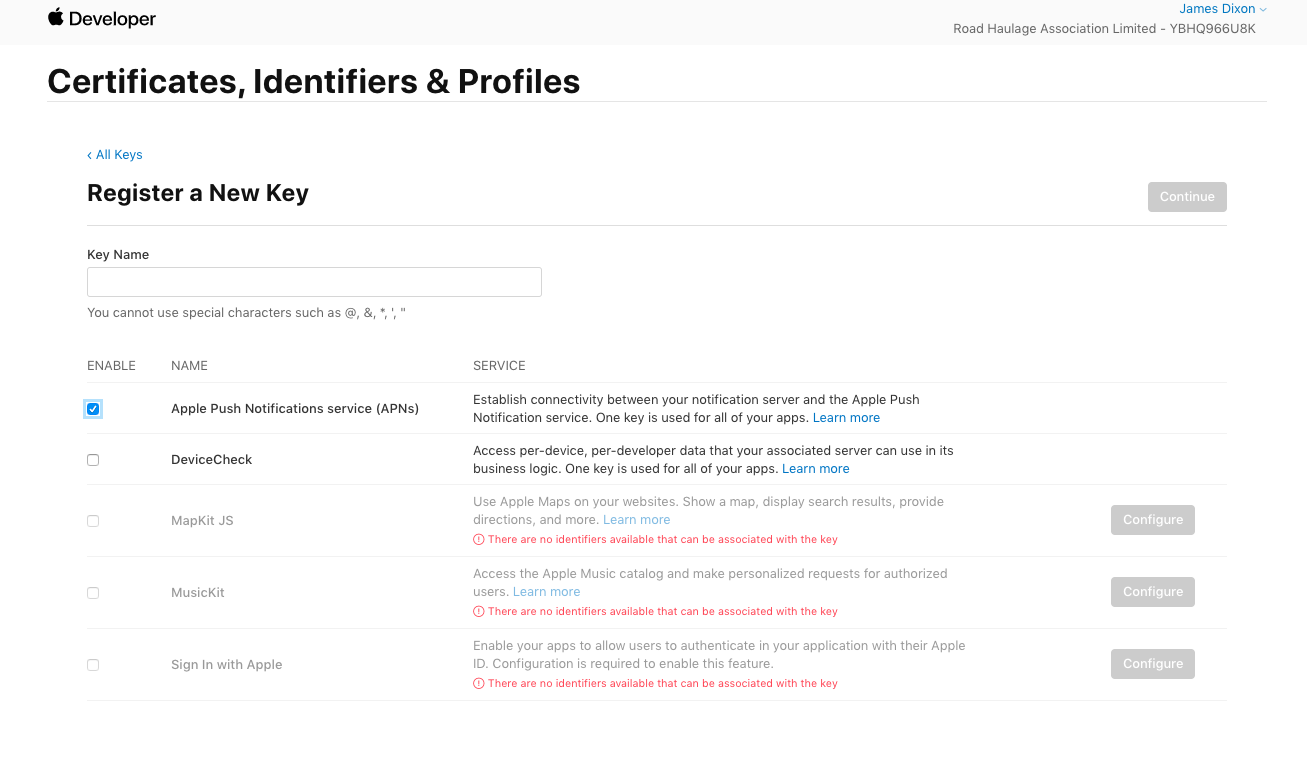
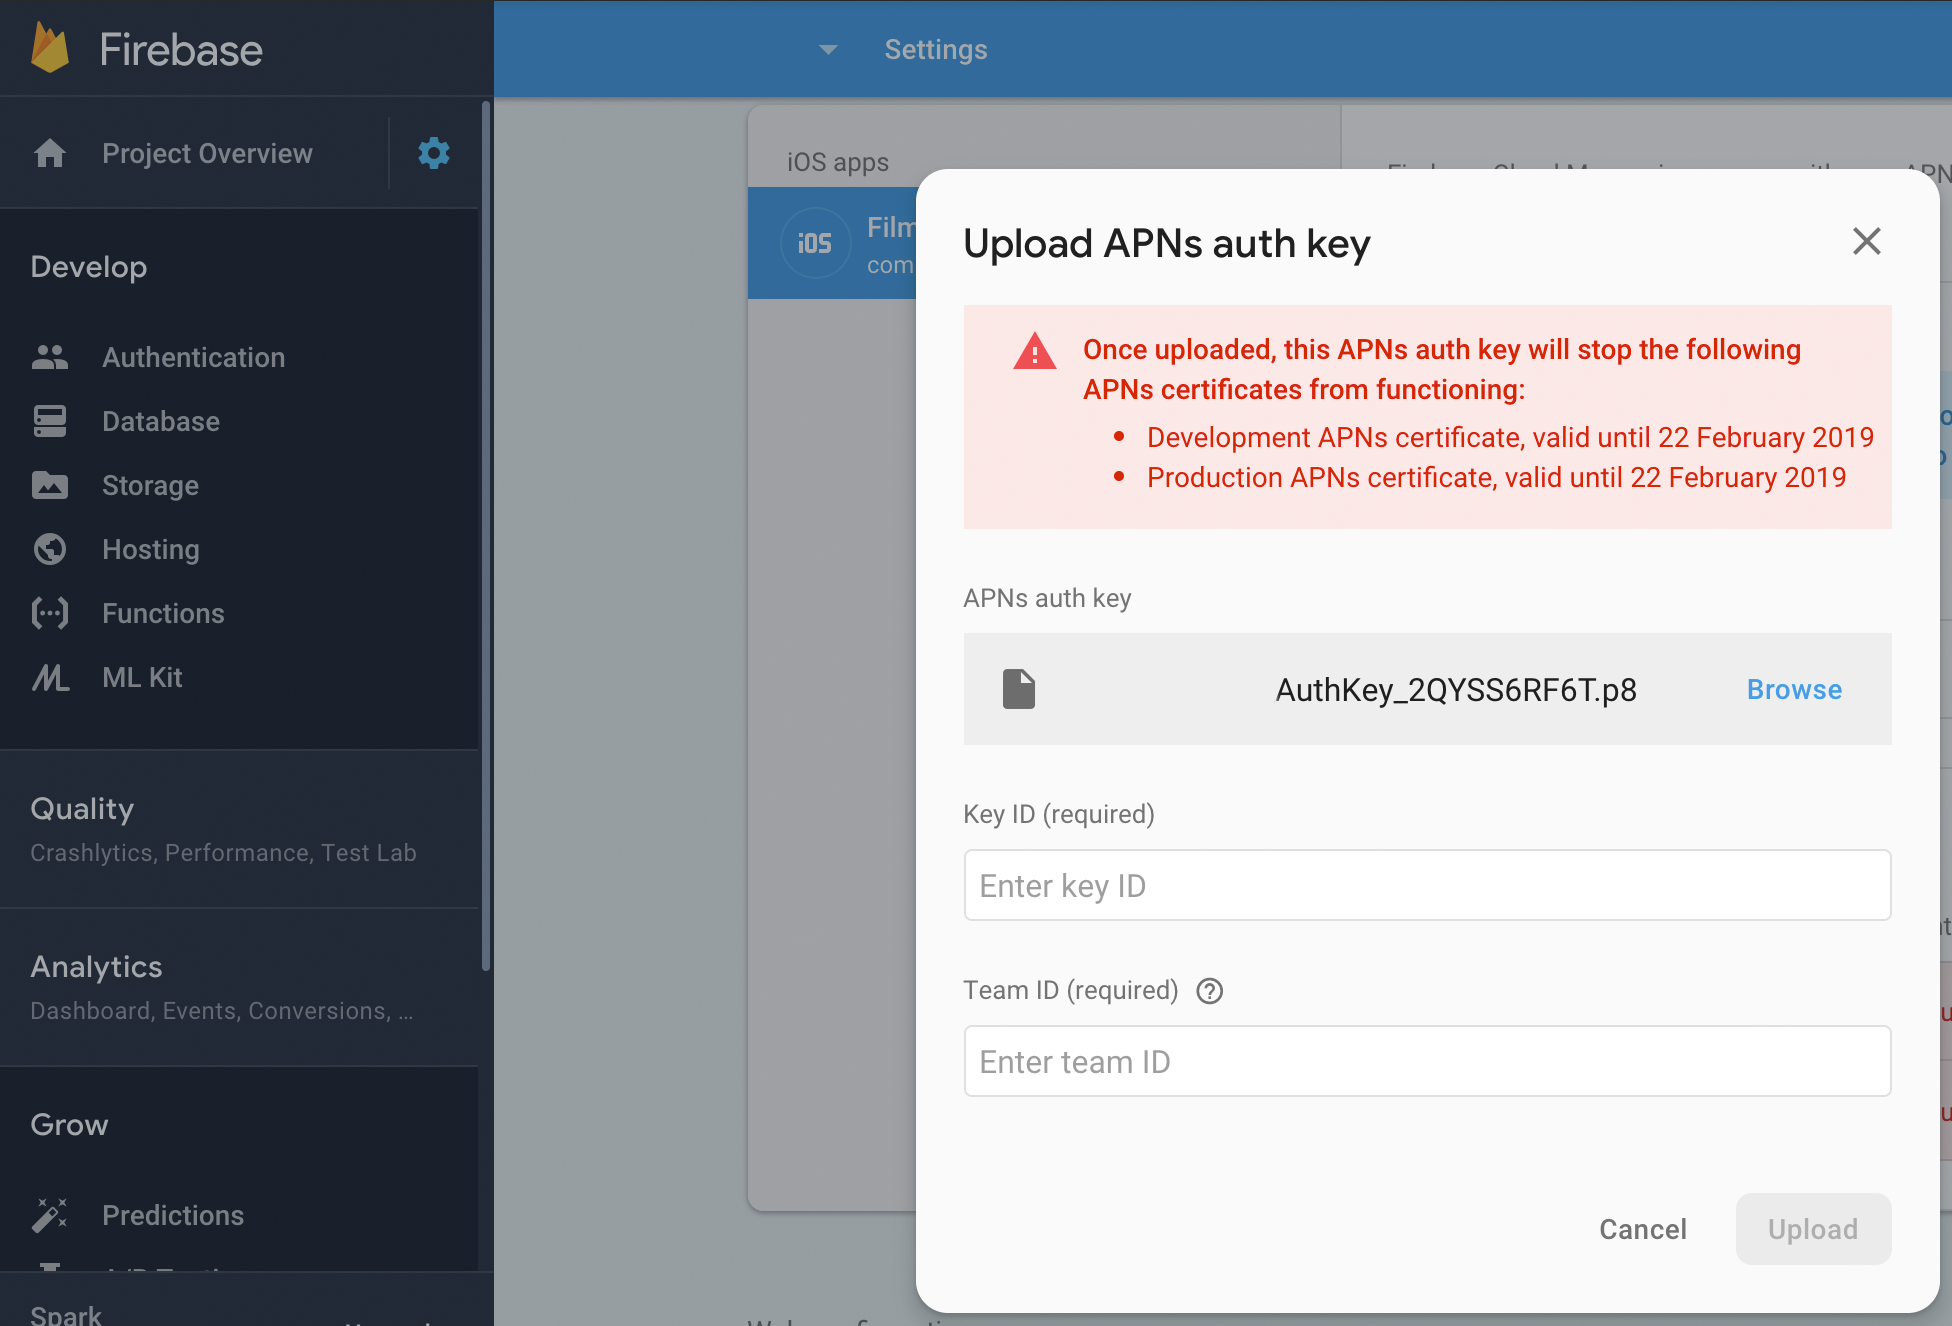
Add the downloaded .p8 file into the Cloud Messaging section of Firebase console with the Key ID and Team ID which can be found in Apple Developer > Membership before pressing Upload to complete.
Team ID: Can be found within Apple Developer > Identifiers > App IDs > Select app > "Prefix"
Key ID: Can be found within Apple Developer > All > Keys > App Push "Key ID"
